A dripping tap might seem like a small issue, but it’s a real nuisance that can lead to bigger headaches, like inflated water bills and unnecessary water waste. Here at D&S Plumbing Group, we’ve spent over a decade helping businesses and homeowners with their plumbing needs. We also offer guidance on common issues like how to fix leaking taps. If a leaky tap is disrupting the peace of your home and wasting water, we’re here to guide you through the process of how to fix it.
Identifying your tap type
The first step in fixing a leaking tap is to understand what type of tap you have. Every tap, whether it’s in your kitchen, bathroom, or out in the front yard has its unique design. They generally come in a few common types:
- Compression Taps: These taps have two handles, one for hot and one for cold water, and they work by compressing a rubber washer against a valve seat every time you turn the tap off. Leaks from these taps are often caused by a broken washer.
- Ceramic Disc Taps: These taps control the water flow with two ceramic discs moving against each other. Issues within these discs often cause leaks.
- Mixer Taps: A more contemporary choice, mixer taps let you control both the temperature and flow of water with a single handle. The cause of a drip here can be a bit tricky, possibly down to a faulty cartridge.
Each type has its quirks and fixing methods. For instance, if it’s a washer and jumper valve issue, you’ll likely need to replace the tap washer. For ceramic disc or mixer taps, you might need to look deeper into the tap body. The most common cause of a leaking tap is a worn-out washer or a faulty o-ring.

Preparing to fix leaking taps
Now that we’ve identified the type of tap you’re dealing with, it’s time to prepare your workspace. Preparing correctly is key to ensuring the process goes smoothly and safely. Here’s what you’ll need to do:
- Gather Your Tools: Every good plumber knows that having the right tools is half the battle won. For most leaking taps, you’ll need a few basic items:
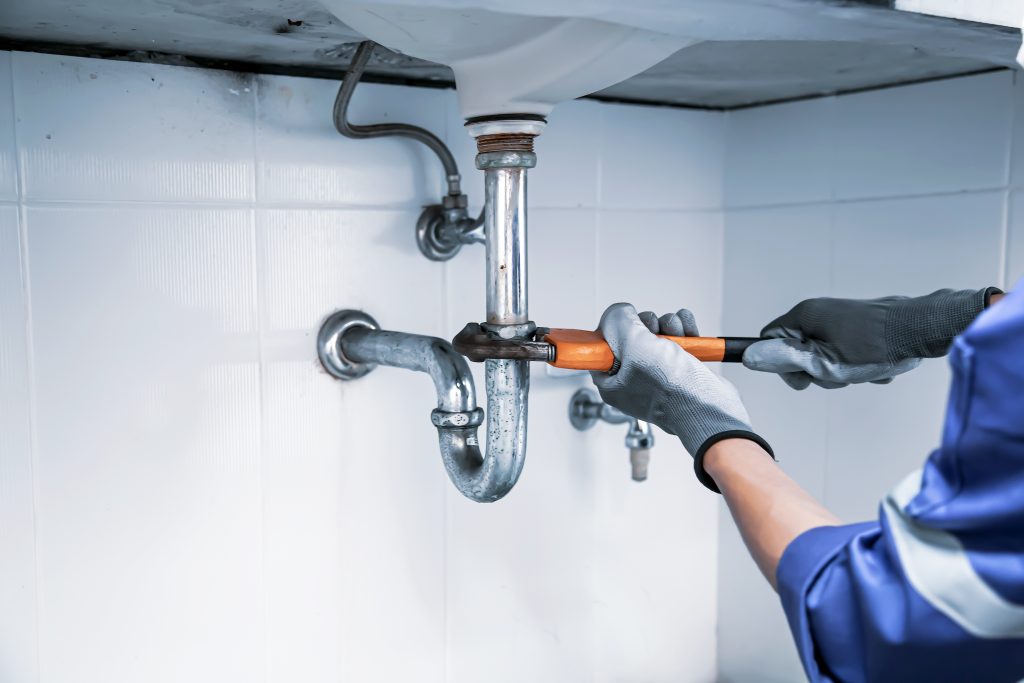
- A shifting wrench or adjustable spanner – this will help you loosen and tighten nuts and bolts.
- Long / needle nose pliers – perfect for those hard-to-reach places and for gripping small parts.
- Screwdrivers – a flathead and a Phillips head should cover most tasks.
- A clean cloth – to wipe down wet surfaces or clean off debris from the tap components.
- Turn Off the Water Supply: Before you fix your dripping tap, make sure to turn off the water supply. This might be at the water main, usually located in your front yard, or an isolation valve closer to the tap. This step is crucial to prevent an unexpected gusher of water and a potential giant mess.
- Prepare Your Workspace: Clear the area around the sink to give yourself plenty of space to work. Place a towel or a small container under the tap to catch any drips or parts that might fall out. It’s also a good idea to plug the drain to prevent any small components like screws or washers from going down the drain.
Safety First: Remember, safety is paramount. Make sure the area is dry to avoid slips, and check that your tools are in good condition. If your leaking tap is near any electrical appliances or outlets, it’s crucial to turn off the electricity at the circuit breaker to avoid the risk of electrical shock. If you’re not confident or comfortable at any point, remember that you can always contact us.
A step-by-step guide on how to fix a leaking tap
Repairing a leaking tap can be a straightforward task with the right approach. Whether you’re dealing with a leaking tap in your kitchen, bathroom, or outside, here’s a simplified, general guide to help you fix it.
- Remove the Tap Handle: Most tap handles can be removed by unscrewing a button or screw, usually found under a hot or cold indicator sign. You might need a screwdriver, a spanner or allen key for this step.
- Uncover the Tap Innards: Once the handle is off, remove the cover plate or skirt, which might be screwed on or simply popped off. This will expose the inner parts of the tap, such as the spindle, body washer, and o-ring.
- Identify the Issues: Look for visible signs of wear or damage on the o-ring, rubber parts, and washer and jumper valves. A worn-out washer or a broken o-ring is often the culprit behind a leaking tap. If it is leaking around the tap’s base or stem, it’s most likely the o-ring. If you spot mineral deposits or corrosion, gently clean the parts with vinegar or a suitable cleaning agent.
- Replace the Faulty Parts: Head to your local hardware store to get the replacement parts. Carefully remove and replace the damaged washer or o-ring. Ensure you have the correct size. Using a washer or o-ring that’s too big or small can result in continued leaking. If the jumper valve is damaged, replace it as well. Remember, each type of tap will have slightly different components, so refer to your tap’s manual if necessary or consult a professional plumber.
- Reassemble the Tap: Once the faulty parts are replaced, reassemble the tap in reverse order. Make sure everything is fitted correctly and snug but avoid over-tightening as this can damage the new parts. Pay special attention to the valve seating and ensure the rubber washer is properly aligned.
Test Your Work: Turn the water supply back on and gently open the tap to let any trapped air escape. Check for leaks and ensure the tap turns smoothly. If the tap still leaks or is hard to turn, it may need further adjustments or other parts replaced.

When to seek professional help to fix a leaking tap
Sometimes, despite your best efforts with your leaking tap fixing, you might encounter issues that are beyond a basic DIY project. If you find yourself dealing with persistent water leaks, severe corrosion in the tap body, or complex issues with the valve seat and jumper valves, it might be time to call in the experts. At D&S Plumbing Group, we’re equipped with the correct tools to repair leaks and handle all kinds of plumbing services, ensuring your taps function perfectly. Whether it’s a tricky washer and jumper valve problem or a more complex issue within the tap bonnet or skirt, our professional team has the skills and tools needed for your plumbing problems.
Reach out to us for reliable and thorough plumbing services, and let us take the hassle out of repairing your dripping taps. You can contact us at 07 3254 8221 for any plumbing needs, big or small. We’re here to ensure your water supply systems are leak-free and functioning efficiently.
Frequently asked questions
Do I need to fix a leaking tap?
Absolutely. Fixing a leaking tap is important for several reasons. Even a seemingly minor dip can lead to significant water waste over time. Constant dripping from leaky taps can waste gallons of water each year, contributing to higher water bills and environmental stress.
A leaking tap may also be indicative of underlying plumbing issues. If left unaddressed, what starts as a simple issue with a tap washer or jumper valve can escalate into more serious problems. Water leaks can cause damage to your tap body, leading to corrosion or damage to the valve seat. This can eventually result in more extensive and costly repairs.
How to identify a washer and jumper valve issue in your tap?
To spot problems with the washer and jumper valve, look for continuous dripping from the tap or reduced water flow. These signs often indicate it’s time to replace the tap washers or inspect the jumper valves. Anything you need to replace can be found at your local hardware store
How often should I replace a tap washer?
It’s a good practice to replace the washer every 1-2 years, depending on usage. Regular replacement can prevent leaking taps and ensure you are saving water.
Still unsure of how to stop a dripping tap? Give us a call today.

